Labels

Showing posts with label How to. Show all posts

Monday, 22 April 2013

Creative Mend - a four week project

Creative Mend

 Mending Policies 
and values
the group came up with in discussion

"SMALL STEPS TO LIFE CHANGES"
  • Crafts and skills are being lost and need to be re-evaluated and re-valued.
  • The art of producing with your hands is very special and enjoyable.
  • It is so easy to just buy, but making or re-inventing is more fulfilling.
  • 'Necessity is the Mother of invention' and one gains more satisfaction as a result.
  • This project is in a small way part of becoming a more thoughtful and creative member of a less throw -away society!
  • This is a 'hydrating' experience, stimulating for mind, body and spirit.
  • This project "takes me out of the routine and 'hum-drum' of everyday life."
  • "Doing this group is a very special thing."
  • "There is no sense of competitiveness or ceremony."
  • "It has challenged my pre-conceived positions and encouraged me to have a go where I would not have previously!"
  • It is recognising that, what seems simple, has very real value!
  • It is freeing not to be motivated by money!
  • "The philosophy of creating together, inter-relating and sharing each others gifts and accepting one-another is hugely valuable."
  • "This has been very useful and nuturing in all female company. It is hard to be totally creative alone."
  • "As a group we can do more!"
  • "This project has changed my outlook."
  • "Getting away from I.T screens and focussing the eyes in creativity is rewarding and stimulating in a different way !"


Sue is sewing onto sticks!

Rachel is Transforming an old bangle

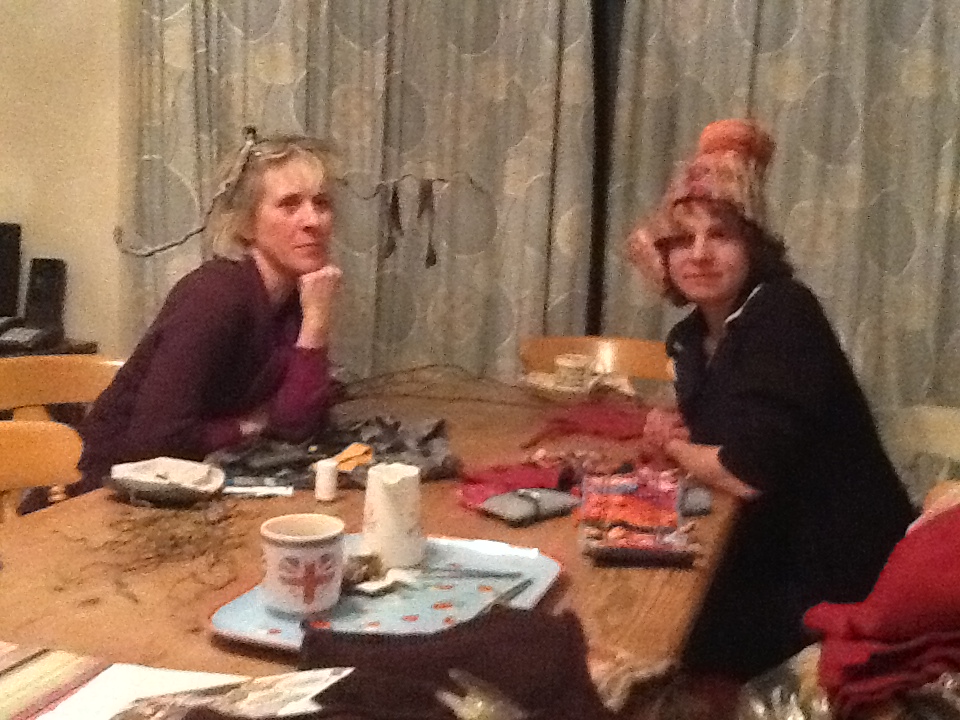
All is not entirely serious endeavour as Rachel's teacosy is modelled on her head!
Sarah has taken an oldshrunken jumper and re-invented it as a lovely bag!


Rachel is making her jeans more interesting!

Gaye takes an old shrunken jumper and makes it into a very useful snood. She embellishes it using her crochet skills.


Gaye is looking at the potential of some old silk scarves.


Thursday, 18 April 2013

Felting (Respite) Day

Pre-Christmas Felting Day


Debbie and her Mum had a well earned respite day learning how to felt. Here Debbie's Mum is making a felt sausage which she later sliced! Debbie majored on felt balls for a garland!

!

We had a lovely day!

Wednesday, 17 April 2013

Aims and Objectives of Felt Resist Workshop


Aims and Objectives of Resist Felting Workshop


®  To teach the techniques of the process and principles of resist felting (and as part of this an understanding of felting in-general will be gained).


®  To inspire and broaden the thinking behind the creative potential of (resist) felting. 


®  To look into the fibres and qualities of felting materials.


®  To consider amalgamating techniques and uses with other materials.


®  Engender co-operation between workshop individuals to spark ideas exchange and collaboration.


®  To look at the growing awareness of ‘craftism’ and its development into the sphere of high art.

Preparations for Resist Felting Workshop

Instructions for seamless felted items

These are instructions to undertake the making of a simple 3D shape. From here it will be possible to experiment with more shapes, sizes and openings etc.

1. Resist

Cut out your desired shape from strong plastic sheeting (old fertiliser sacks or something similair is good!).
The finished item will be approx. 40% smaller so bear this in mind when sizing your shape. Do not have any sharp corners as they will poke out during the felting process.

2.Splay out the felt fibres in a sun shape around the resist shape.Avoid gaps in the fibres unless this is your desired effect! This is going to be the inside layer of your 3D shape so consider how you want it to look.
You can be as delicate or bold as you like. If you wish to use manmade fibres for their effect you will have to trap them into the wool layers. Experimentation is good!

Place net over this.
Spray with hot water (the heat speeds up the process)
Soap over with olive oil soap, but not too much. This is required in order to encourage the wool to absorb water and assist the matting of fibres

You can use the palm of your hand delicately to begin felting the layers.


3. Take netting off carefully and turn the piece over. Fold over the splayed edges onto the other side.
4. Continue same process at least 3 times.
5. Take away sheeting and netting.
Roll up tightly from the edge of your bamboo roll or bubblewrap and begin rolling up and down to agitate and begin felting. Keep turning the shape so that it will be evenly felted all around.

6. It will begin to shrink and curl. Continue until it is really well felted. 

7. Cut the resist open (the hole increases hugely in size so think about the size of cut carefully depending on what you want to achieve. Examples shown.